 All products are TPO-free.
 Satisfied customers
Nail designs 2025 – The most beautiful trends
The year 2025 will showcase exciting, creative, and surprisingly wearable nail trends. Whether you do your own nails or regularly visit a nail salon, these 2025 nail designs are guaranteed to keep you on trend. We'll show you the most sought-after looks, colors, and techniques for modern nails with a wow factor.
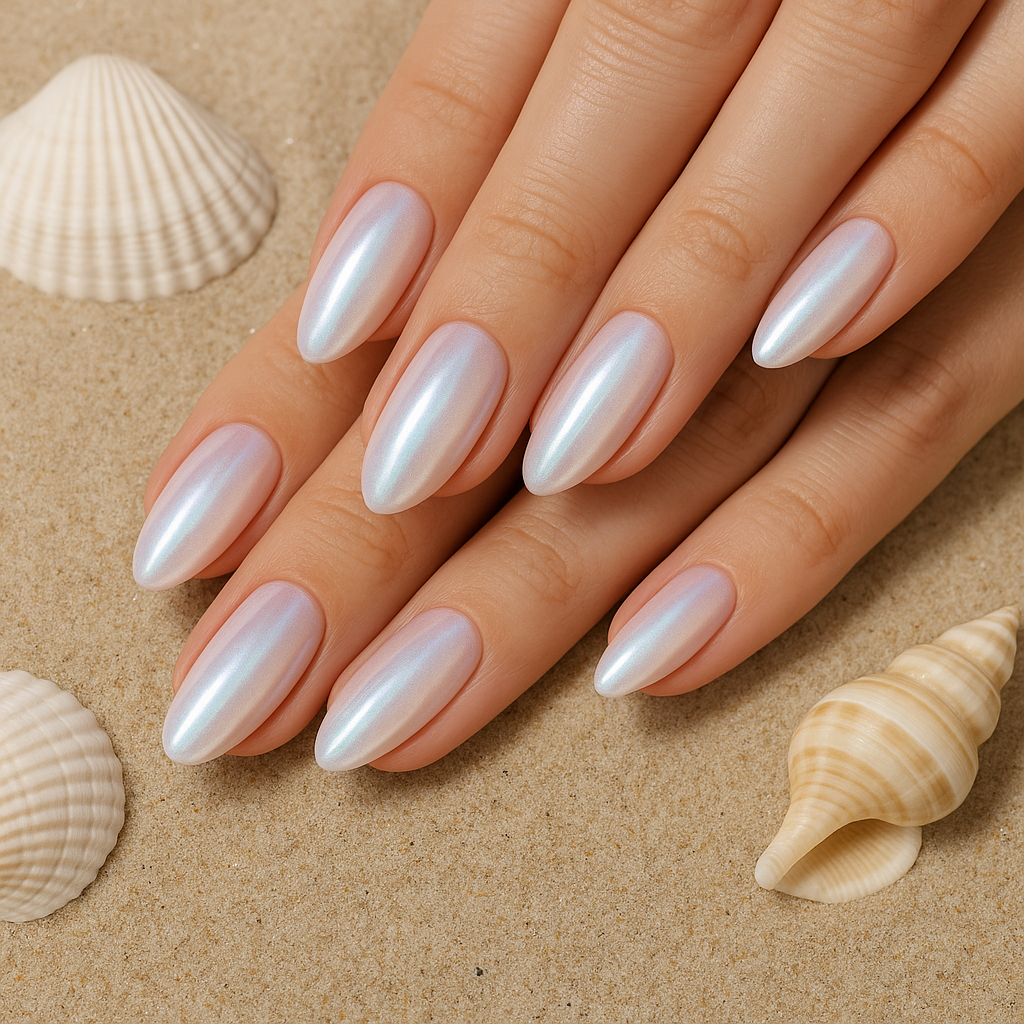
1. Glazed Donut Nails – still trending
What began in 2023 will continue into 2025: Glazed nails with a chrome-gloss finish remain extremely popular – especially in milky white , champagne , rosé , or with a delicate holographic shimmer . Ideal for a clean, elegant look.

Instructions: Glazed Donut Nails
What you need:
-
Sheer nude or milky-rosé gel/varnish
-
Chrome Powder (e.g. Pearl or Holo)
-
Applicator (e.g. eyeshadow sponge)
-
Sealant (without a sticky layer or cleanser)
Here's how:
-
Preparing nails:
File nails, buff them to a matte finish, push back cuticles and apply a base coat – allow to harden thoroughly. -
Color application:
Apply one or two thin layers of a sheer rose or milky nude shade . Allow to set. -
Apply Chrome Powder:
Use a non-sticky top gel or cure the top coat, then rub in the Chrome Powder with the applicator – buff gently for a mirror-like shine. -
Seal:
Finally, apply a layer of top coat and let it cure thoroughly. This will ensure the glazed look lasts perfectly.
Tip: For the typical “donut glaze” effect, a pearl white chrome powder on a milky nude base is particularly suitable.
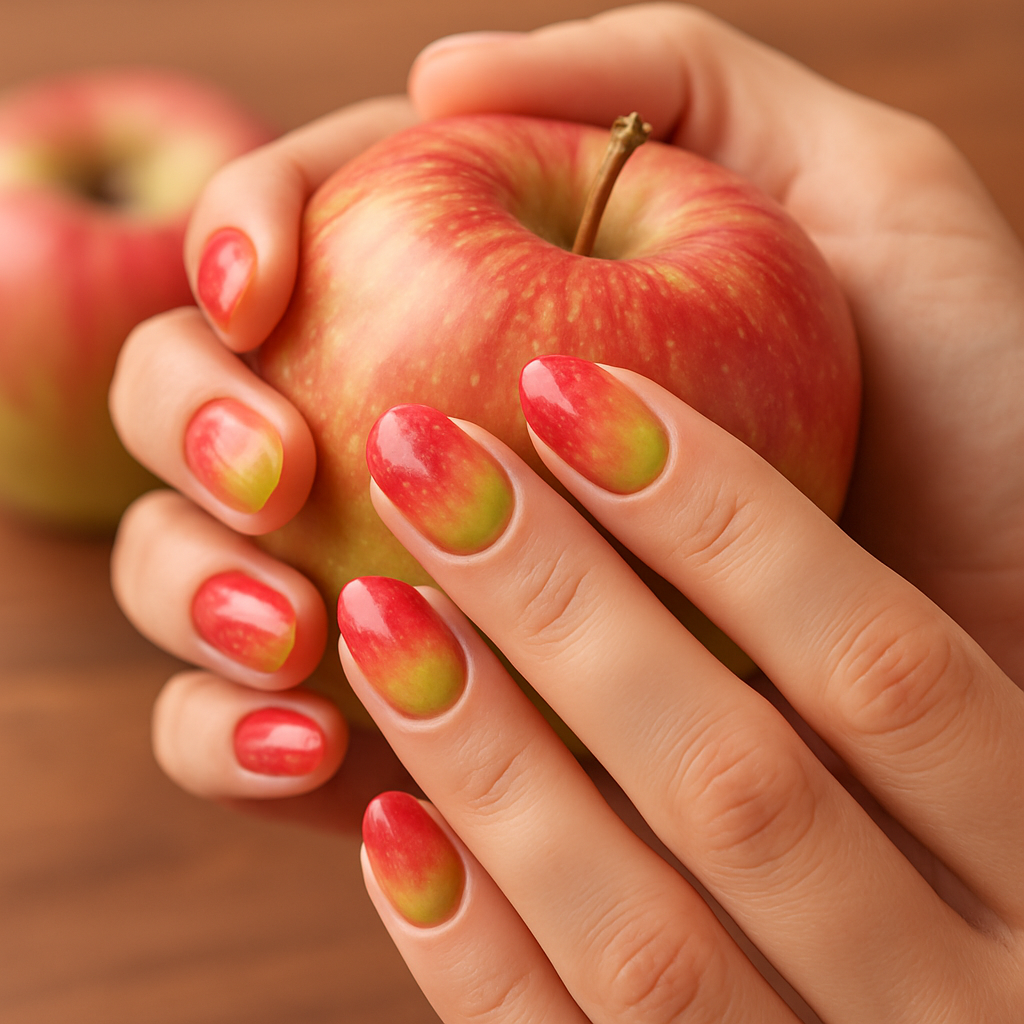
2. Color Splash: Colorful statement nails
Bold colors like electric blue , neon pink , or lime green will make a bold statement in 2025. Multicolor looks , where each nail is a different color, will be especially popular – often combined with a matte finish .

Instructions: Colour Splash Nails
What you need:
-
Several colored nail polishes or UV gels in bright colors (e.g., pink, blue, yellow, green, purple, orange)
-
brush or applicator
-
Sealant (glossy or matte – depending on the desired finish)
Here's how:
-
Preparation:
Prepare nails as usual: file, buff, push back cuticles and degrease. -
Apply primer:
Protects the natural nail and ensures better durability – cure thoroughly. -
Select colors:
Choose 5-10 bold colors – depending on the look, you can distribute them differently on each hand or mirror them. -
Paint your nails:
Paint each nail a different color – ensure even coverage. You may need to apply two coats, curing between coats. -
Finish:
Seal – glossy for a bold pop look or matte for a trendy statement.
Tip: For an extra kick, you can also combine neon colors or color blocking with stickers!
3. Cat Eye 2.0 – now with movement
Cat-eye nails are getting a real upgrade in 2025: Thanks to new 3D magnetic gels , designs can be created that visibly change when the hand is turned. Galaxy effects with a black or dark blue base are particularly trendy.

Instructions: Cat Eye 2.0 Nails
What you need:
-
Cat Eye Gel (magnetic) – preferably in dark shades such as black, blue or purple
-
Magnetic wand (Cat Eye Magnet)
-
Optional: black colored gel as a base
-
Sealant (glossy)
Here's how:
-
Preparation:
Prepare nails, file, buff and prime – allow to cure thoroughly. -
Apply a dark base (optional):
For greater depth, use a black color gel as a base – allow to cure. -
Apply Cat Eye Gel:
Apply a medium layer of Cat Eye Gel evenly – do not let it harden! -
Apply magnet:
Hold the magnet close to the nail for approximately 5–10 seconds (without making contact) to create the typical light reflection or 3D effect. Depending on the position, a different effect will result (diagonal, curved, halo, etc.). -
Curing:
Allow the desired look to set briefly, then cure completely under the UV/LED lamp. -
Apply top coat:
Seal with a top coat for brilliant shine – and your Cat Eye 2.0 look is complete!
Tip: The darker the background, the more intense the magnetic effect. You can also keep the magnet moving to create dynamic effects (“Galaxy Look”).
4. 3D nail art & texture effects
From laced nails and pearl embellishments to embossed patterns : 3D nail designs are taking over salons. Those who prefer a more subtle look can opt for soft embossing , i.e., raised patterns in a gel look, tone-on-tone.

Instructions: 3D nail art & texture effects
What you need:
-
Builder gel or special 3D gel (e.g. Sculpture Gel)
-
Optional: Pearls, rhinestones , 3D stencils, modeling gel
-
Top coat (glossy or matte)
Here's how:
-
Design the surface:
Prepare nails and paint with your desired base color . Allow to cure thoroughly. -
Building structures:
Using thick gel or 3D gel, draw fine patterns, lines or motifs directly onto the nail – e.g. waves, laces, flowers or lacing. -
Curing:
Cure each 3D element individually to prevent smudging. Use UV/LED according to the gel instructions. -
Decorate (optional):
You can insert mini pearls, rhinestones or foils into the still-wet gel – this creates an even greater 3D effect. -
Seal:
For raised patterns, it may be advisable to work without a top coat to preserve the effect – otherwise, carefully seal only around the structure.
Tip: Embossed designs (tone-on-tone, e.g. in white or nude) are ideal for beginners – subtle, but impressive!
5. Frozen Nails – cool pastel effects
Icy designs with glitter , pastel white , frost finish , and transparent gels make nails look frozen – an elegant trend, especially for winter looks. Combined with silver flakes or sugar dust, they're simply gorgeous!

Instructions: Frozen Nails
What you need:
-
Colored gel or nail polish in ice blue, milky white or silver
-
Glitter or flakes (e.g., snowflake glitter, holo-dust)
-
Optional: Snow effect powder or sugar effect gel
-
Top coat – preferably with a high-gloss finish
Here's how:
-
Preparation:
Prepare nails: file, buff, push back cuticles and degrease. -
Apply base color:
Choose an icy shade – for example, frosty light blue, pearly white, or delicate silver. Apply 1–2 thin coats and allow to cure. -
Incorporate effects:
After hardening:-
Sprinkle on fine glitter or flakes , or work them in selectively with a brush.
-
For 3D frost effects: work snow effect powder into moist gel or paint on sugar gel.
-
-
Seal:
Seal everything with a glossy top coat . For a strong 3D effect, apply a second coat if necessary.
Tip: The look is particularly beautiful when combined with transparent areas and small, subtle snowflake motifs.
6. Clean Girl Nails – well-groomed & minimalist
The counter-trend to eye-catching nail art: natural, lightly tinted nails with nude colors , subtle shine , and a perfect almond shape . Clean Girl Nails embody self-care and understatement at its finest.

Tutorial: Clean Girl Nails
What you need:
-
Fine file & buffer
-
Sheer nude or rosé polish (e.g. milky pink, soft beige)
-
Glossy Top Coat
Here's how:
-
Preparation:
File nails into a natural oval or almond shape. Gently push back the cuticles and buff the nail surface to a soft, smooth finish . -
Care:
Treat your cuticles with a little nail oil – for extra shine and a healthy nail bed. Allow the oil to absorb completely before applying nail polish or remove it. -
Apply base coat:
Protects the natural nail and ensures better durability. Cures. -
Color:
Apply 1-2 thin layers of sheer nude or rosé . Important: Not opaque! The look should remain delicate and translucent. Set. -
Top Coat:
Finally, apply a layer of glossy top coat for the typical "glass skin" effect on the nails. Cure.
Tip: Less is more – this look thrives on well-groomed hands and understated elegance . Perfect for everyday wear, the office, or date night.
7. Geometry & Negative Space
2025 is also the year for clean lines: triangles, rectangles, or minimalist arches on a transparent base create a modern, artistic nail design. Especially stylish in black and white or gold and nude combinations.

Instructions: Geometry & Negative Space Nails
What you need:
-
Nude or transparent gel/polish base
-
Nail art brush or thin brush
-
Paint (e.g., black, white, gold)
-
Possibly nail art tape or stencils
Here's how:
-
Preparing nails:
File nails, push back cuticles, buff the surface and clean thoroughly. -
Base coat & substrate:
Apply a base coat and cure. Then apply a layer of nude or transparent polish – cure thoroughly. -
Cover design with masking tape (optional):
For particularly precise lines, use nail art tape or mask off the desired areas that should remain "negative". -
Designing geometric shapes:
Use a fine brush to paint lines, triangles, semicircles or rectangles – contrasts in black, white or metallic look particularly beautiful. -
Correct & harden:
Correct small imperfections with a thin brush. Allow to cure in between. -
Apply top coat:
Don't forget to seal it! A glossy or matte top coat protects the design and ensures a perfect finish.
Tip: Less is more! Negative space thrives on contrast – deliberately leave empty areas.
Conclusion: 2025 is creative, sophisticated, and self-confident.
Whether minimalist chic or a creative work of art – nail designs in 2025 offer the perfect inspiration for every style. Those who dare can combine different techniques – for example, glazed chrome with 3D elements or cat eye with color effects .
Whether you want to do it yourself or provide your nail designer with ideas – in 2025 there are no limits to your creativity!