 All products are TPO-free.
 Satisfied customers
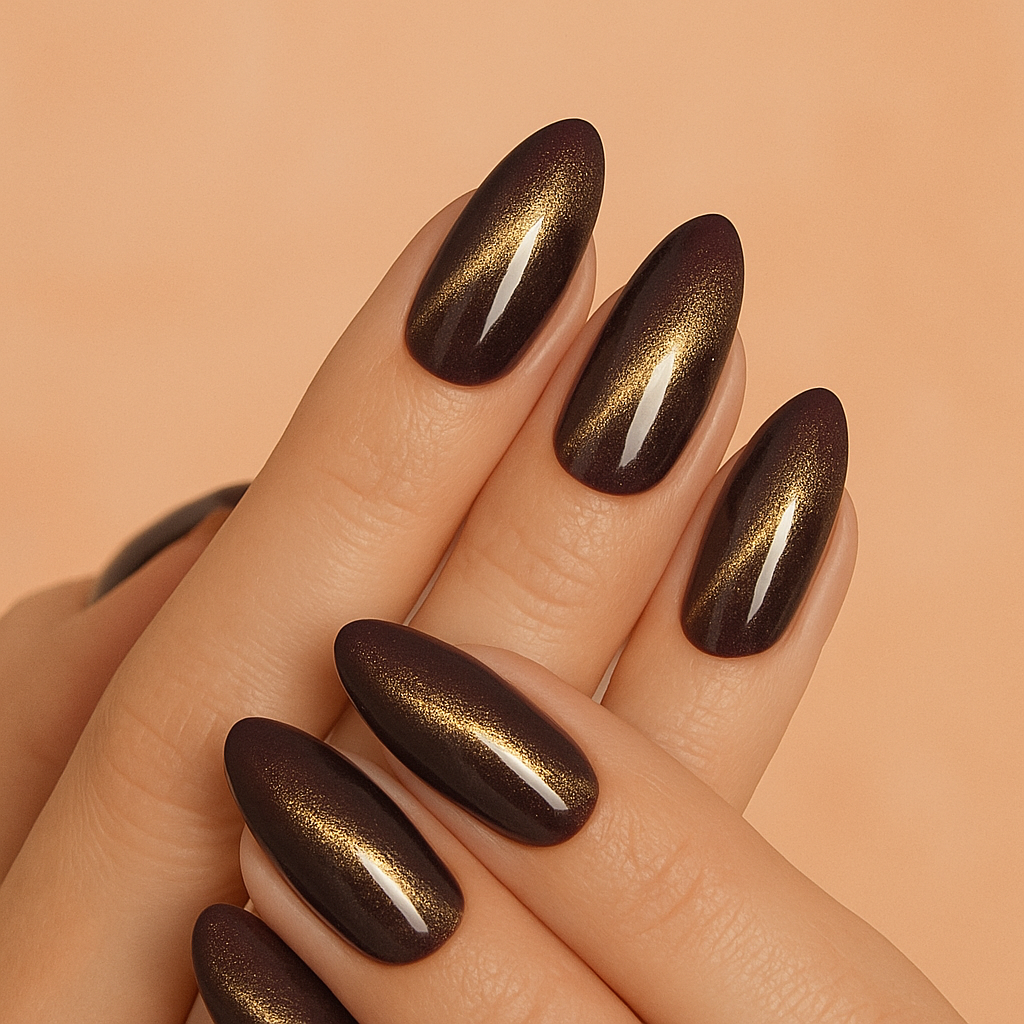
Smooth is a thing of the past – 2025 will be structured, bold, and creative . 3D nail art brings depth, texture, and real design potential to your nails. Whether subtle with pearls and flowers or extravagant with sculpted motifs – this trend is like jewelry for your fingertips!

What is 3D nail art?
- 3D stands for elements that are visibly and noticeably protruding from the nail
- We work with gel, acrylic, stickers, rhinestones, beads, Fimo elements or glass beads
- The look can be minimalist-elegant or striking-artistic
Recommended Emmi-Nail products for 3D looks:
- 3D Sculpture Gel Clear or White – for free modeling (e.g. flowers, drops, hearts)
- Nail Art rhinestones, pearls, shapes – for elegant highlights
- 3D nail stickers or Fimo elements – perfect for quick effects
- UV primer gel & sealing gel – for perfect hold and shine
- Fine 3D nail art brush
Instructions: 3D Nail Art – Nails with Structure & Style
What you need:
-
Emmi-Nail 3D Sculpture Gel (white or clear)
-
UV/LED lamp
-
Fine nail art brush or silicone modeling tool
-
Rhinestones, pearls or mini Fimo decorations
-
UV primer or base gel
-
High Gloss Sealing
-
Cleaner, buffer, file, applicator tweezers
Step-by-step instructions
1.) Preparation
-
File nails into shape, push back cuticles, lightly buffer the nail plate.
-
Degrease nail with cleaner.
-
Apply a layer of base gel and cure.
2.) Apply base color
-
Apply the desired Rubber Base Gel (e.g. nude, pink, soft white) in 1-2 layers.
-
Cure each layer for 120 seconds .
3.) Model 3D elements
-
Pick up the 3D gel with a fine brush or silicone tool.
-
Dab or pull to form small petals, drops or patterns .
-
Tip: Harden one side first, then continue working – this way the mold stays clean.
4.) Add decoration (optional)
-
Use sealing gel to add small pearls, rhinestones or Fimo elements .
-
Fix briefly and allow to harden.
5.) Seal
-
Only seal the exposed surfaces with a high gloss sealer, NOT over 3D designs!
-
This way the effect remains three-dimensional and not “enclosed”.
-
Cure & remove any condensation layer if necessary.
Pro tips:
-
For beginners: Start with simple drops or 3D hearts .
-
Combine matte base + glossy 3D for extra contrast.
-
3D Gel adheres better if the surface is not too smooth → lightly buffer beforehand!
3D Nail Art – the creative playground for nail designers
Variety of techniques
-
Modeled with 3D gel or acrylic : flowers, bows, hearts, drops, logos
-
Inserted with decorative elements : pearls, rhinestones, glass balls, Fimo discs
-
Cast or molded : e.g. with silicone molds or embossing stamps
-
Combined with other effects : Chrome, Cat Eye, Airbrush or French
Why 3D Nail Art is so popular
-
Highly individual – every design is unique
-
Suitable for social media – an eye-catcher, especially on videos and reels
-
Art on the finger – for customers who want to stand out
-
Seasonal theme – ideal for parties, weddings or mottos (spring = blossoms, winter = snow crystals)
Business tips for studios & shops
-
Offer premium service
→ E.g. “3D Flower Design” as an additional booking option (+10–15 €) -
Organize workshops or tutorials
→ Live demos on Instagram or small on-site training sessions with starter sets -
Content ideas:
→ “5 easy 3D nail art designs to copy”
→ “How to add 3D to natural short nails”
→ “Top 10 looks for brides with 3D design”